
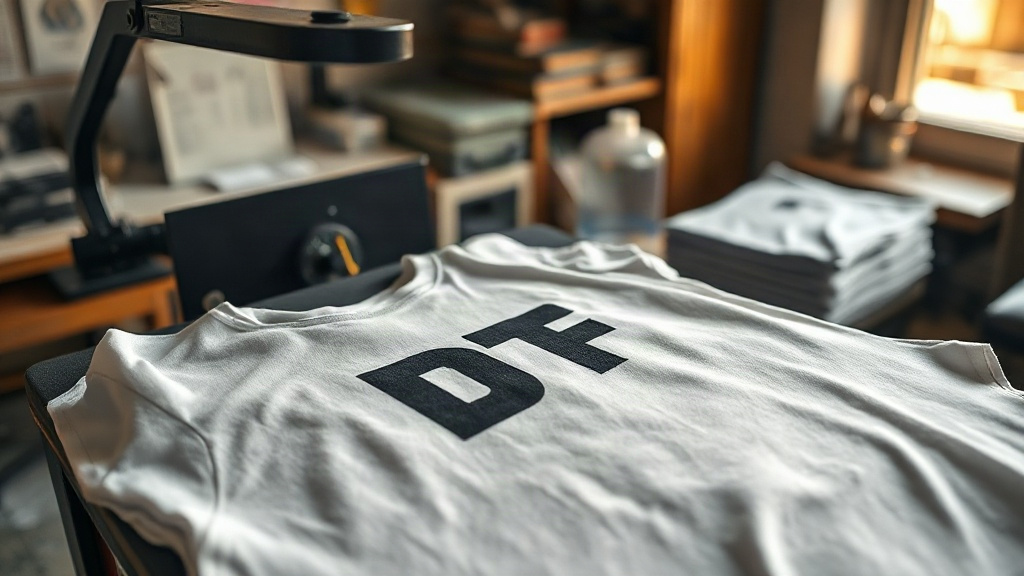
Most people who try DTF transfers for the first time come to them the same way: they have an order that screen printing cannot justify and vinyl cannot handle. Twelve shirts with a full-color mascot, a gradient sunset, and a name on the back of each one. That is the moment DTF earns its reputation. It handles color and detail without a single screen, and once the film is printed and powdered, pressing a shirt takes under a minute.
I have run DTF on a converted Epson printer for a few years now, mostly for local teams, small brands, and the occasional bachelorette party that wants twenty matching tanks by Friday. What follows is what I have learned about the process itself, the settings that matter, and the failures that cost me the most film.
What DTF Transfers Actually Are
Direct to film printing is a two-stage process. First, a printer lays down a mirrored image in CMYK plus white ink onto a sheet of PET film. The white layer sits behind the color and gives the print its opacity, which is why DTF works on dark garments without a separate underbase. Second, while the ink is still wet, the film passes through a shaker that dusts it with hot-melt adhesive powder. The excess powder falls away, the rest sticks to the wet ink, and a curing pass melts it into a flexible glue layer.
What you end up with is a transfer that behaves a lot like a heat transfer but prints like a digital image. There is no weeding, no carrier sheet to peel away by hand, and no color separation. You press it, let it cool, and peel the film off the shirt. The adhesive stays bonded to the fabric, and the ink stays bonded to the adhesive.
Why Shops Keep Choosing It Over Vinyl and Screen Printing
Each decoration method has a niche, and DTF's niche is wide. Here is where it consistently wins.
- Full-color art with no setup cost. A photographic image costs the same to print as a two-color logo. There is no screen fee, so short runs stay profitable.
- No weeding. Anyone who has spent an evening picking tiny letters out of vinyl knows what this is worth.
- Works on tricky fabrics. Cotton, blends, canvas, and even some synthetics take DTF well, which is more than can be said for vinyl on a 50/50 tee.
- Stretch and recovery. A properly cured transfer moves with the garment instead of cracking along the print edge.
The trade-off is hand feel. A DTF print sits on top of the fabric with a slight rubbery texture. On a heavy hoodie it is barely noticeable. On a thin tri-blend tee, you will feel it. If someone wants a print that disappears into the fabric, screen printing with a soft-hand additive still wins.
Film Choices and Why They Change Everything
The film is not a neutral carrier. Double-sided matte film is the standard for most shops because it grips the powder evenly and releases cleanly after pressing. Single-sided film is cheaper and works fine if you keep your powder application consistent, but it curls more in the printer and tends to jam on longer runs.
Thickness matters too. Thin film, around 75 microns, drapes better on lightweight shirts and produces a lower-profile print. Thicker film, closer to 100 microns, resists stretching during transfer and holds up better on hoodies and canvas. I keep both on the shelf and match the film to the garment rather than the other way around.
Cold peel versus hot peel
Cold peel film is the safer default. You press, wait for the transfer to cool to the touch, then peel the film away. The adhesive has time to set, and the edges stay crisp. Hot peel film lets you pull the carrier immediately after pressing, which speeds up production, but it demands a press that holds temperature evenly. If your platen runs ten degrees cool on one side, hot peel will show it.
Press Settings That Actually Work
Most DTF failures trace back to the press, not the print. These are the ranges I start with and adjust from.
- Temperature: 300 to 320 degrees Fahrenheit for the transfer itself. Cotton likes the higher end, blends the lower.
- Pressure: medium to firm. You want the film pressed flat against the fabric, not crushed into it.
- Time: 10 to 15 seconds for the main press, then a second press of 5 to 8 seconds after peeling to smooth the print and improve wash durability.
- Pre-press: 5 seconds on the garment to drive out moisture. Skipping this is the single most common cause of a print that lifts at the corners.
A heat press with a digital controller and even pressure is worth more than any upgrade to the printer. I would rather run a modest printer through a good press than the reverse.
Powder, Curing, and the Step Everyone Rushes
The powder is the adhesive, and it decides how the print feels and how long it lasts. Fine powder gives a softer hand and better detail on thin lines. Coarse powder grips better on textured fabrics but adds bulk.
Curing is where the money is. Under-cured powder leaves a print that peels in the wash. Over-cured powder makes the adhesive brittle and yellow. A proper cure runs the film through heat until the powder turns from white to a clear, glossy gel. If you can still see white specks, keep going. If the film starts to curl and warp, you have gone too far.
Common Mistakes and How to Fix Them
The print peels after a few washes
Nine times out of ten this is pressure or pre-press. The transfer never fully bonded because the fabric was damp or the press did not push the adhesive into the weave. Re-press a test shirt at higher pressure and check the result before running the whole order.
Colors look dull on dark garments
That is a white ink problem. The white layer needs to be dense enough to block the garment color. Increasing white ink density in the RIP software or printing a second white pass usually solves it, though it adds a little hand feel.
The film jams or the ink smears
Humidity and static are the usual culprits. Store film in a sealed bag, run a dehumidifier in the print room, and clean the platen and rollers regularly. A small anti-static bar near the output tray helps more than most people expect.
Edges lift on stretchy fabrics
Stretch the garment slightly on the platen before pressing so the print sits on a flat surface, not a relaxed one. When the shirt relaxes, the print relaxes with it instead of fighting the fabric.
When DTF Is the Wrong Call
It would be easy to sell DTF as a universal answer, but it is not. Large flat areas of solid color on a light garment still look and feel better with screen printing. Garments that will be washed at high heat, like workwear, do better with a different decoration method. And if a customer wants a print that is invisible to the touch, DTF will never quite deliver that.
The honest approach is to keep DTF in the toolbox alongside the other methods and pick based on the job. Most small shops that do this end up using DTF for the majority of their short runs and specialty work, which is exactly where it belongs.
Frequently Asked Questions
How many washes do DTF transfers typically survive?
A properly pressed and cured transfer on cotton usually holds up through 50 or more home washes when the garment is turned inside out and washed cold. The adhesive is the weak point, not the ink, so wash temperature and dryer heat matter more than detergent choice.
Can I use DTF transfers on polyester and nylon?
Polyester works well at lower press temperatures, around 280 to 300 degrees, to avoid dye migration and fabric scorching. Nylon is trickier because it can scorch easily and the adhesive does not grip as firmly, so test a scrap piece before committing to an order.
Do I need a dedicated DTF printer, or can I convert an existing one?
Many shops start with a converted Epson printer running DTF ink and a RIP profile. It works, but the white ink channel clogs if it sits idle, so daily nozzle checks and agitation are part of the routine. Dedicated DTF printers handle white ink circulation automatically and are easier to maintain over time.
What is the difference between DTF and DTG?
DTG prints directly onto the garment, which limits it mostly to cotton and requires pretreating. DTF prints onto film first, so it works on a much wider range of fabrics and lets you stock pre-printed transfers for fast turnaround. DTF also tends to have a more noticeable hand feel than DTG on light shirts.
How should I store unused transfers?
Keep them flat, cool, and dry, away from direct sunlight and humidity. A sealed bag or a drawer with a silica packet prevents the powder from absorbing moisture, which is what causes transfers to fail even when the press settings are correct.