
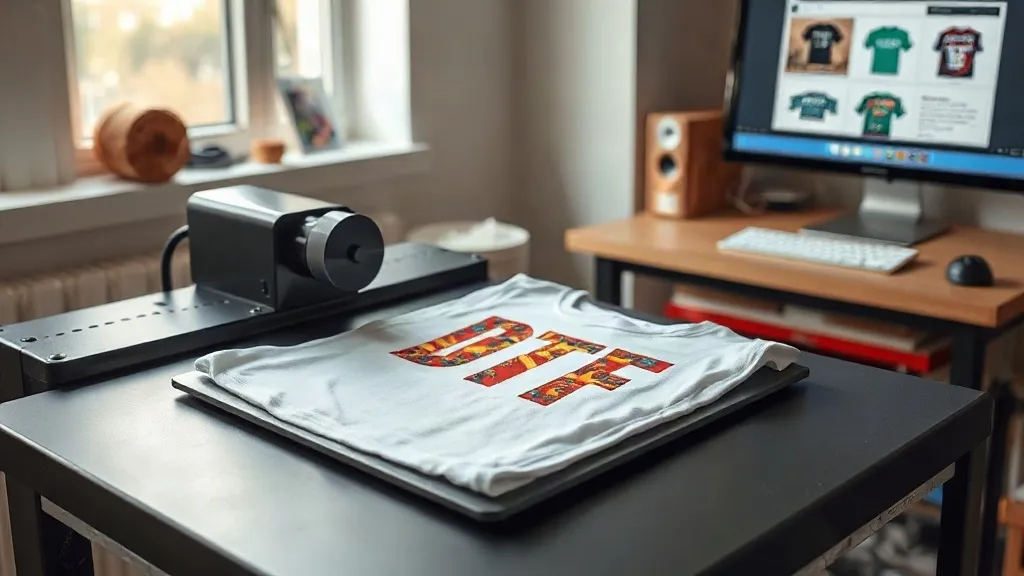
When you walk into a print shop and see a rack of vibrant, full-color shirts drying, there is a good chance those prints started as dtf transfers. Direct-to-film has moved from a niche alternative to a mainstream production method for custom apparel, and for good reason. It handles complex artwork, works on almost any fabric, and scales from one-off orders to bulk runs without the setup costs of screen printing. But like any process, the quality of the final print depends on how well you understand the variables.
This guide is for shop owners, press operators, and brand owners who want to get consistent, durable results from dtf without wasting time and material on trial and error. We will cover the entire workflow: file preparation, film and powder selection, pressing parameters, and the wash durability that keeps customers coming back. Whether you are just starting out or looking to tighten up an existing process, the details here will help you avoid the common pitfalls that lead to cracked prints, dull colors, and frustrated clients.
What Are DTF Transfers and Why They Matter
At its core, dtf transfers are printed on a special film, coated with a hot-melt adhesive powder, and then pressed onto fabric using a heat press. The process eliminates the need for weeding, layering, or specialized pretreatments that other methods require. That simplicity is a big part of the appeal, but it also means that small mistakes in any step can show up in the final product.
The magic happens at the powder stage. After printing, the wet ink is dusted with adhesive powder, which melts into the ink when cured. This powder is what bonds the print to the fabric. If the powder is applied unevenly or cured incorrectly, the print may peel or fail after a few washes. Getting this step right is non-negotiable for professional results.
Another reason DTF has gained traction is its versatility. Unlike vinyl, which struggles with fine details and gradients, DTF can reproduce photorealistic images, subtle color transitions, and intricate linework. It also works on cotton, polyester, blends, and even some nylon and canvas materials. For shops that handle a mix of garment types, that flexibility reduces the need for multiple decoration methods.
Preparing Files for Flawless DTF Output
Great prints start with great files. The most common cause of disappointing DTF results is artwork that was not set up correctly. Here is what to check before you hit print:
- Resolution: Use at least 300 DPI at the final print size. Upscaling a low-res image will produce fuzzy edges and pixelation that no amount of pressing can fix.
- Color mode: Work in RGB for DTF. The printer's RIP software will handle the conversion to CMYK plus white, but starting in RGB preserves the widest gamut and gives the RIP more information to work with.
- White underbase: DTF printing requires a white ink layer behind the color to make the design opaque on dark garments. Your RIP software usually generates this automatically, but you can adjust the choke (the amount the white layer is shrunk) to prevent white edges from peeking out around the color.
- Mirroring: Remember to mirror your design before printing. The film is pressed face-down onto the fabric, so the image must be flipped horizontally.
It is also wise to create a test print for any new design, especially if it contains fine text or gradients. A small investment in a test run can save you from ruining a batch of expensive blanks.
Choosing the Right Film and Powder
Not all DTF film is created equal. There are two main types: cold-peel and hot-peel. Cold-peel film is more common and generally easier to work with because the transfer can cool completely before peeling, which reduces the risk of the print stretching or distorting. Hot-peel film, as the name suggests, is peeled while still warm. It can be faster for high-volume production, but it requires more precise timing and a steady hand.
Powder selection is equally important. The adhesive powder comes in different mesh sizes, typically 80 to 200 microns. Finer powders (higher mesh numbers) produce a softer hand feel and are better for detailed work, while coarser powders provide a stronger bond and are more forgiving on textured fabrics. Many shops keep both on hand and match the powder to the job.
Storage matters too. Film should be kept in a cool, dry place away from direct sunlight. Humidity can cause the film to absorb moisture, which leads to curling and poor ink adhesion. Powder should be stored in an airtight container to prevent clumping.
Pressing Parameters That Deliver Consistent Results
The heat press is where the transfer either succeeds or fails. While every press and film combination has its own sweet spot, here are starting points that work well for most setups:
- Temperature: 300°F to 320°F (150°C to 160°C). Too hot and the film may scorch or the adhesive may become brittle; too cool and the powder will not fully melt.
- Pressure: Medium to firm. You want even contact across the entire design. Inconsistent pressure is a common cause of partial transfers and peeling edges.
- Time: 10 to 15 seconds for the press, followed by a cold peel. Some operators do a second press of 5 seconds after peeling to smooth the print and improve wash durability.
Always use a protective sheet or parchment paper between the press platen and the transfer to prevent ink from sticking to the upper platen. And do not forget to pre-press the garment for a few seconds to remove moisture and wrinkles. A dry, flat surface is essential for good adhesion.
Wash Durability: What to Expect and How to Improve It
Customers expect prints to last. With proper application, DTF transfers can survive 50 or more wash cycles without significant fading or cracking. However, poor pressing or low-quality materials can cut that number in half. To maximize durability:
- Ensure the powder is fully melted and the print is pressed with enough pressure and time.
- Avoid stretching the garment immediately after pressing; let it cool completely.
- Wash inside out in cold water and tumble dry low. High heat is the enemy of any heat-applied graphic.
- For stretch fabrics, consider using a stretchable powder or a slightly lower press temperature to keep the adhesive flexible.
Testing is your best friend. Run a wash test on a sample from each new batch of film or powder. A simple 5-cycle wash test will reveal any weaknesses before you ship to a customer.
Common DTF Problems and How to Fix Them
Even experienced operators run into issues. Here are a few frequent problems and their solutions:
- Print peeling after wash: Likely insufficient pressure, temperature, or time. Increase one variable at a time and test.
- Dull colors: Check that the white underbase is thick enough and that the powder is not overly coarse. Also ensure the film is not expired.
- Film curling during printing: Usually caused by humidity. Store film in a dry environment and consider a dehumidifier in the print room.
- Powder not sticking: The ink may be too dry before powdering. Adjust the printer's ink density or powder immediately after printing.
Keeping a log of your settings for each job helps you trace back the cause when something goes wrong. It also makes it easier to replicate success.
Finding Reliable DTF Transfers Near You
If you are outsourcing your transfers, quality control becomes even more important. Searching for dtf transfers near me can connect you with local providers who offer faster turnaround and the ability to discuss your needs in person. When evaluating a supplier, ask about their film brand, powder type, and whether they offer samples. A good supplier will be transparent about their process and stand behind their product.
For shops that want to control every step, bringing DTF in-house is a worthwhile investment. A starter setup with a printer, shaker, and heat press can pay for itself quickly if you handle a steady volume of custom work. The key is to train your team on the nuances of the process and maintain consistent quality checks.
Frequently Asked Questions
How long do DTF transfers last on a shirt?
With proper application and care, DTF prints can last 50 or more washes. Using quality film and powder, pressing at the correct temperature and pressure, and following recommended washing instructions all contribute to longevity.
Can I use DTF transfers on polyester and nylon?
Yes, DTF works well on polyester and many nylon fabrics, though nylon may require a lower press temperature to avoid scorching. Always test on a sample first, especially with synthetic materials that are sensitive to heat.
Do I need a special printer for DTF?
You can convert a standard inkjet printer to use DTF inks, or purchase a dedicated DTF printer. Dedicated models are designed for the thicker white ink and often include a built-in shaker, which simplifies the workflow.
What is the difference between hot-peel and cold-peel DTF film?
Cold-peel film is allowed to cool completely before the transfer is peeled off, which reduces the risk of stretching the print. Hot-peel film is peeled while still warm, which can speed up production but requires more careful timing.
How should I store DTF film and powder?
Store film in a cool, dry place away from sunlight and humidity. Powder should be kept in an airtight container. Proper storage prevents clumping, curling, and poor adhesion.
Mastering DTF transfers is a matter of paying attention to the details that others overlook. From file setup to powder application and pressing, each step influences the final result. By standardizing your process and testing regularly, you can deliver custom apparel that looks great and holds up to real-world wear.