
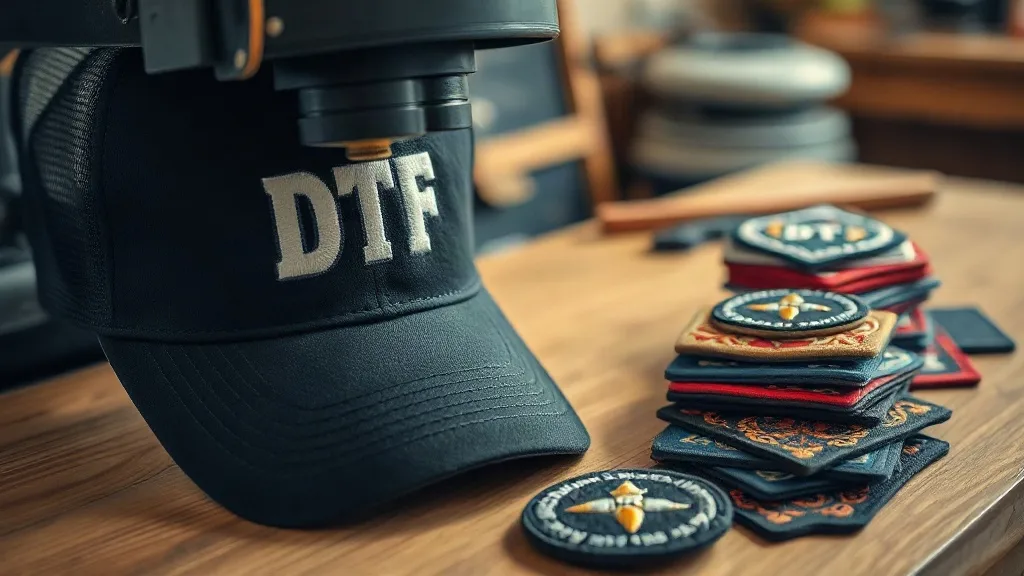
Embroidered patches have a timeless appeal. The raised threads, the subtle sheen, the tactile depth—they signal quality and craftsmanship. But traditional embroidery is slow, expensive, and limited in detail. For small shops and on-demand orders, it is often impractical. That is where dtf transfers come in. With the right design approach and pressing technique, you can produce patches that mimic embroidery so convincingly that most customers will not notice the difference until they touch them. This guide walks you through the process, from file setup to final finish, so you can offer the embroidered look without the embroidery machine.
Why DTF Is a Game-Changer for Faux-Embroidery Patches
DTF, or direct-to-film, printing lays down a layer of pigment ink onto a special film, then coats it with a hot-melt adhesive powder. When heat-pressed onto fabric, the adhesive bonds the ink to the garment. The result is a thin, flexible, and durable print that can capture fine details—something embroidery struggles with. But to get the embroidered look, you need to think beyond standard flat prints. The key lies in simulating the texture and dimension of thread.
Traditional embroidery uses satin stitches, fill stitches, and underlay to create raised areas. With dtf, you can replicate these effects by adding visual cues in your artwork: stitch lines, thread-like patterns, and subtle shadows. The print itself is flat, but the eye perceives depth. This technique is especially effective for logos, badges, and emblems that are typically embroidered.
Designing for the Embroidered Look
Start with Vector Artwork
Begin with a clean vector file. Raster images can work, but vectors give you crisp edges and the ability to add stitch details precisely. If you are converting a raster logo, trace it carefully to avoid jagged lines. Remember that DTF can hold fine lines down to 0.5 pt, but for a thread-like appearance, use slightly thicker strokes (1–2 pt) with rounded caps.
Add Stitch Patterns
The most convincing faux-embroidery uses stitch patterns that follow the contours of the design. For example, a circular badge might have radial stitches; a letter might have angled stitches. You can create these patterns in Adobe Illustrator using pattern brushes or by drawing individual stitch lines. Keep the lines slightly irregular—perfectly uniform lines look digital, not stitched.
Use Color and Shading
Embroidery threads have a subtle sheen that catches the light. To mimic this, add highlights and shadows to your design. Use gradients sparingly, as DTF prints them well but too much gradient can look flat. Instead, use solid colors with lighter and darker variants to suggest raised areas. For metallic threads, consider a gold or silver color with a slight gradient to simulate reflection.
Simulate Texture with Halftones or Noise
A subtle noise overlay can give the print a fabric-like texture. Keep it very fine—too much noise will look grainy. Alternatively, use a halftone pattern at a small dot size to suggest the weave of thread. Test on a small sample first to ensure the texture reads well at actual size.
Choosing the Right Film and Powder
Not all DTF films are created equal. For patches that will be cut out and applied as standalone pieces, you need a film with strong adhesion and flexibility. A double-sided matte film can help reduce glare, which is important for the embroidered look. Use a fine powder (80–100 micron) for a smoother finish; coarser powders can add texture but may look more like flock than embroidery.
If you are ordering dtf transfers near me, ask your supplier about the film type and powder grade. Many suppliers offer samples so you can test before committing to a large order.
Pressing Techniques for Dimensional Patches
Prepare the Garment
Pre-press the garment to remove moisture and wrinkles. This step is crucial for a smooth bond. For best results, use a heat press with even pressure. Set the temperature according to the film manufacturer's recommendations—typically 300–320°F (150–160°C).
Apply the Transfer
Place the transfer on the garment with the adhesive side down. Cover with a Teflon sheet or parchment paper. Press for 10–15 seconds with medium pressure. Peel the film while it is still warm (warm peel) or cold, depending on the film type. Warm peel often yields a slightly softer hand, which can enhance the embroidered feel.
Add Dimension with a Second Press
To enhance the raised effect, you can press the patch again after peeling, using a textured pressing mat or a piece of fabric over the patch. This can emboss the stitch lines slightly, creating actual physical depth. Be careful not to over-press, as it can flatten the design.
Finishing Touches
Edge Treatment
Embroidered patches often have a merrowed edge—a thick, rounded border. You can simulate this by adding a thick outline to your design and cutting around it. Alternatively, use a satin-stitch border in your artwork. When cutting the transfer, leave a small margin (1–2 mm) to prevent the edge from lifting.
Application to Garments
If you are applying the patch to a garment, consider stitching around the edge for authenticity. A simple zigzag stitch or a running stitch in a matching thread color can complete the illusion. This is especially effective on hats and jackets.
Common Pitfalls and How to Avoid Them
- Overly perfect stitches: Real embroidery has slight variations. Add randomness to your stitch lines.
- Too much detail: While DTF can handle fine lines, extremely small details may not read as thread. Simplify where possible.
- Wrong color choices: Embroidery threads are usually matte or slightly glossy. Avoid neon or metallic colors unless you are deliberately going for a synthetic look.
- Incorrect pressing: Insufficient pressure or time leads to poor adhesion. Always follow the film's guidelines and test on a scrap first.
Case Study: A Sports Club Badge
A local soccer club wanted embroidered badges for their jerseys but had a tight budget and a short deadline. We designed a badge with a shield shape, using a fill stitch pattern for the background and satin stitches for the lettering. The design was printed on DTF film, cut out, and pressed onto the jerseys. To enhance the look, we added a thick outline and used a warm peel. The club was thrilled with the result—the badges looked stitched and held up through multiple washes. The cost was a fraction of traditional embroidery, and the turnaround was two days instead of two weeks.
Frequently Asked Questions
Can DTF transfers really look like embroidery?
Yes, with careful design that includes stitch patterns, shading, and texture. The print is flat, but the visual cues trick the eye. At a glance, most people cannot tell the difference, especially on textured fabrics.
How do I wash garments with faux-embroidery DTF patches?
Turn the garment inside out and machine wash cold. Avoid bleach and fabric softener. Tumble dry low or hang dry. The print should last as long as the garment with proper care.
What is the minimum order for custom DTF patches?
Unlike traditional embroidery, DTF has no minimum. You can order a single patch or hundreds. This makes it ideal for samples, one-offs, and small teams.
Can I apply DTF patches to hats and caps?
Absolutely. Use a hat press or a small iron with firm pressure. Pre-press the cap to flatten the area, and use a lower temperature (280–300°F) to avoid scorching. Test on an old cap first.
How durable are DTF transfers on patches?
When applied correctly, DTF transfers are highly durable. They resist cracking, peeling, and fading. Wash tests show they can withstand 50+ washes without significant degradation.
Ready to create your own embroidered-look patches? dtf transfers from PatchesVault offer the quality and consistency you need. Explore our range and start experimenting today.