
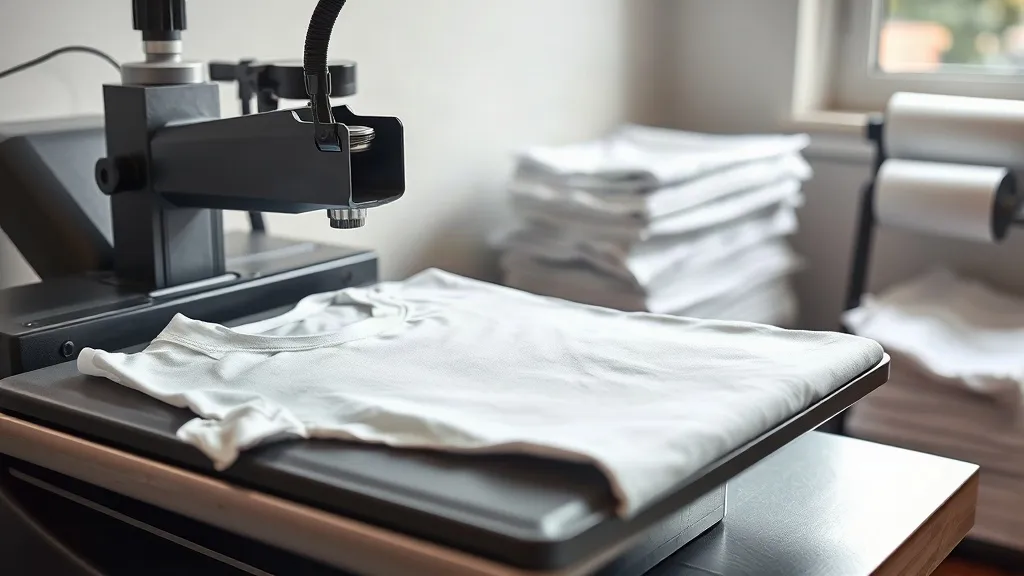
You have probably seen the difference between a DTF print that looks factory-made and one that starts cracking after three washes. The gap usually is not the transfer sheet itself. It is the press settings and the peel technique. After running thousands of dtf transfers through a shop press, I can tell you that the variables are few but unforgiving. This guide is not about what DTF is. It is about how to press it right the first time, every time, so your customers never see a cracked print.
The Three Variables That Decide Print Quality
Every DTF press comes down to temperature, pressure, and time. Get any one of them wrong and the adhesive fails to fully activate, the powder does not melt into the ink, or the film sticks where it should release. Here is what actually works on a standard heat press.
Temperature: 320°F to 340°F Is Your Window
Most DTF films are engineered to activate between 320°F and 340°F. I set my press to 330°F and verify with an infrared thermometer because press dials drift. If you go too low, the adhesive stays tacky and the print peels in the wash. Too high, and the film can scorch or the adhesive can bleed beyond the image edge, leaving a visible halo on light garments.
Pressure: Medium, Not Heavy
DTF needs firm, even pressure, but not the kind you would use for screen print transfers. I aim for about 40 to 60 PSI, which on most presses feels like a solid push but not a slam. Too much pressure squashes the ink into the fabric and creates a stiff hand feel. Too little and the adhesive never fully contacts the garment, so you get patchy adhesion that fails at the edges first.
Time: 10 to 15 Seconds for the Press, Then Peel
Press for 10 to 15 seconds depending on the film brand. I start at 12 seconds for standard dtf sheets. Then comes the peel, which is where most operators make their mistake.
Hot Peel vs. Cold Peel: What Your Film Requires
Not all DTF films are created equal. Some are hot peel, meaning you remove the carrier film while the transfer is still warm, usually within a few seconds of the press opening. Others are cold peel, which means you wait until the sheet is completely cool to the touch. Using the wrong method for your film can ruin the print.
If you are unsure, test a small corner. Press a scrap piece, then try peeling a corner while warm. If the ink lifts with the film, it is a cold peel. If it releases cleanly, it is hot peel. Write the result on the box. This one habit has saved me more wasted sheets than any other.
Fabric Pairing: Where DTF Shines and Where It Struggles
DTF works on almost any fabric, which is why it has become so popular for custom apparel. But "works" and "works well" are different things. Here is how I pair transfers with common blanks.
- 100% cotton: Excellent. The ink bonds well and the hand feel is soft after washing. This is the easiest fabric for beginners.
- Cotton/poly blends: Very good. Slight variation in dye lot can affect how the white underbase looks, so always test on the actual blank you plan to sell.
- 100% polyester: Good, but watch the heat. Polyester can scorch or glaze at higher temperatures. Drop to 310°F and shorten the press time by a couple of seconds.
- Nylon and treated fabrics: Tricky. Some nylon jackets and water-resistant shells repel the adhesive. You may need a specialty film or a bonding agent. Test first.
Pre-Press Checklist for Consistent Results
Before the transfer even touches the platen, a few prep steps make the difference between a print that lasts and one that fails.
- Pre-press the garment for 5 seconds. This removes moisture and wrinkles. Moisture is the enemy of DTF adhesion.
- Lint roll the print area. A single fiber under the transfer becomes a permanent bump in the print.
- Place the transfer with the ink side down. Obvious, but I have seen experienced operators flip it under pressure.
- Use a Teflon sheet or protective paper. This keeps the film from sticking to the upper platen and distributes heat evenly.
- Check the film for wrinkles. A wrinkled sheet will press a permanent crease into the print.
Troubleshooting Common DTF Problems
The Print Peels After Washing
This is almost always under-pressing. Increase pressure slightly, add two seconds to the press time, or check that your temperature is actually reaching the film. A cold spot on the platen can cause partial adhesion.
The Print Looks Dull or Faded
Dull prints usually mean the powder did not fully melt during the transfer process, or the film was pressed at too low a temperature. Try raising the temperature by 10°F and see if the vibrancy returns. Also, make sure you are storing film in a dry place. Humidity affects the powder.
The Film Sticks and Tears During Peel
You are peeling at the wrong temperature. If it is a cold peel film and you peeled hot, the ink will stretch and tear. Let it cool completely, then peel in one smooth motion. If it is a hot peel film and you waited too long, the adhesive can grab. Peel immediately.
Storage and Handling: The Invisible Quality Factor
DTF film is sensitive to moisture and heat. I store unused sheets in a sealed plastic bag with a silica gel packet, away from direct sunlight. Rolls stay in their original packaging until they go on the printer. If you live in a humid climate, this matters more than you think. I have seen film that sat out for a week produce prints with pinholes and weak adhesion, while the same batch stored properly pressed perfectly.
When to Choose DTF Over Other Methods
DTF is not always the answer. For large solid-color blocks on cotton, screen printing is still faster and cheaper at volume. For single-color names and numbers, vinyl is quicker. But for full-color, photographic designs on a mix of fabrics, especially poly blends and dark garments, DTF is hard to beat. It also lets you gang multiple designs on one sheet, which cuts waste and speeds up small-batch production. If you are new to the method, start with a small order of dtf transfers and run test presses on your actual blanks before committing to a bulk run.
Frequently Asked Questions
What temperature should I press DTF transfers at?
Most films activate between 320°F and 340°F. Start at 330°F and adjust based on your fabric and film brand. Always verify with an infrared thermometer because press dials can be inaccurate.
Can I press DTF transfers on polyester without scorching?
Yes, but lower the temperature to around 310°F and shorten the press time slightly. Use a protective sheet and test on a scrap piece of the same fabric first.
How long should I wait before washing a DTF-printed shirt?
Wait at least 24 hours after pressing before the first wash. This gives the adhesive time to fully cure. Wash inside out in cold water and avoid fabric softener, which can break down the bond over time.
Why did my DTF transfer peel off after the first wash?
Under-pressing is the most common cause. Check your pressure, temperature, and time. Also confirm you peeled at the correct temperature for your film type. If the film was cold peel and you peeled hot, adhesion can fail.
Can I use DTF transfers on nylon or water-resistant jackets?
It depends on the fabric coating. Some nylon and treated fabrics repel the adhesive. Test a small area first. If adhesion fails, you may need a specialty film or a bonding agent designed for difficult fabrics.