
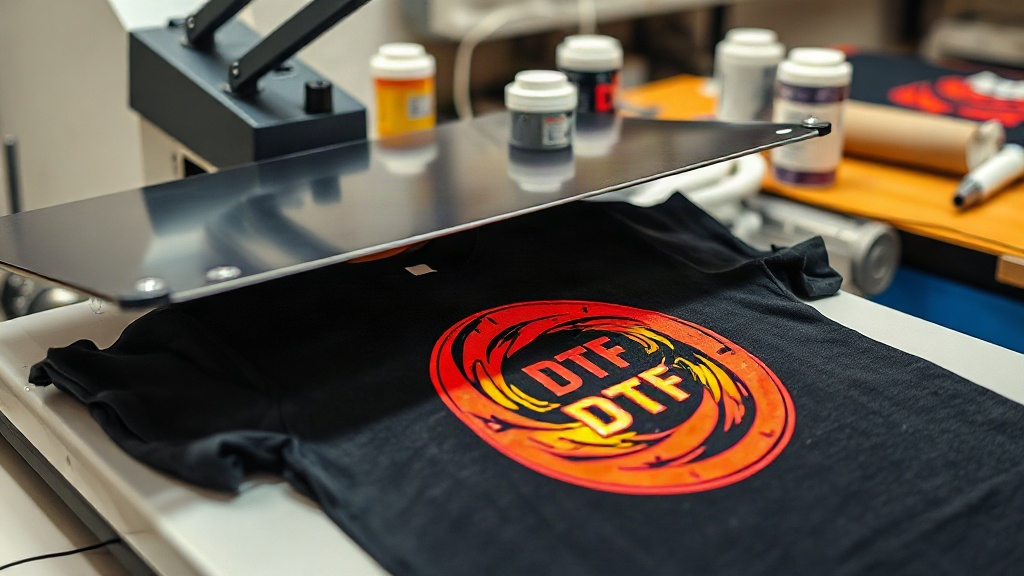
If you've been exploring custom apparel printing, you've likely encountered DTF transfers. This innovative technology is rapidly becoming a favorite among crafters, small business owners, and DIY enthusiasts for its versatility and vibrant results. Unlike traditional methods, DTF transfers allow you to print full-color designs on a wide range of fabrics without the need for weeding or special pretreatment. In this guide, we'll walk you through everything you need to know to achieve flawless results with DTF transfers, from understanding the basics to mastering the application process.
What Are DTF Transfers?
DTF stands for Direct-to-Film. It's a printing method where your design is printed onto a special film, coated with a powder adhesive, and then heat-pressed onto the fabric. The result is a soft, stretchable, and durable print that can be applied to almost any material, including cotton, polyester, blends, and even nylon. Unlike DTG (Direct-to-Garment) printing, DTF transfers don't require the fabric to be pretreated, making them a convenient option for both small and large projects.
How DTF Transfers Differ from Other Methods
Compared to vinyl, screen printing, or DTG, DTF transfers offer a unique combination of benefits. Vinyl is limited in color and complexity, screen printing is cost-effective only for large orders, and DTG works best on 100% cotton. DTF transfers, on the other hand, can reproduce intricate, full-color designs on a variety of fabrics without the setup costs of screen printing. They also eliminate the weeding process, saving you time and reducing waste.
Why Choose DTF Transfers for Your Projects?
There are several compelling reasons to consider DTF transfers for your next custom apparel project. First, the color vibrancy is exceptional. The prints are bright and opaque, even on dark fabrics, because a white ink layer is applied beneath the colored inks. Second, DTF transfers are incredibly durable. When applied correctly, they withstand repeated washing without cracking, peeling, or fading. Third, they offer unmatched versatility: you can print on cotton, polyester, blends, and even treated nylon, and the designs stretch with the fabric, making them ideal for athletic wear.
Understanding the DTF Transfer Process
To get started with DTF transfers, it's important to understand the steps involved. Here's a breakdown of the process from design to finished product.
1. Designing Your Artwork
Your design should be created in a graphic software like Adobe Photoshop, Illustrator, or a free alternative like GIMP or Inkscape. Ensure your design is high resolution (300 DPI) and in CMYK color mode. Remember that DTF transfers can handle fine details, gradients, and photographic images, so let your creativity run wild. However, avoid very thin lines (less than 0.5 pt) as they may not transfer well.
2. Printing and Powdering
If you're outsourcing, you'll send your design to a DTF printer. If you're doing it yourself, you'll need a DTF printer, DTF film, and DTF powder. The printer prints your design onto the film using special DTF inks. While the ink is still wet, the film is covered with a fine layer of hot-melt adhesive powder. The excess powder is shaken off, and the film is heated to melt the powder, creating a dry, tacky surface that will bond to the fabric.
3. Preparing Your Fabric
Before pressing, preheat your heat press to the recommended temperature (usually around 300-325°F or 150-160°C). Pre-press the garment for a few seconds to remove moisture and wrinkles. This step is crucial for a smooth, even transfer.
4. Applying the Transfer
Place the DTF transfer on the fabric with the printed side facing up. Cover it with a Teflon sheet or parchment paper to protect your heat press. Press with medium pressure for 10-15 seconds. For best results, use a heat press rather than an iron, as it provides even pressure and temperature. After pressing, allow the transfer to cool completely before peeling off the film. You can peel it either hot or cold, depending on the film's instructions, but cold peel is more common for DTF.
5. Post-Pressing (Optional)
For added durability, you can post-press the design for another 5-10 seconds with a Teflon sheet. This ensures the adhesive fully cures and the print becomes more resistant to washing.
Common Mistakes to Avoid with DTF Transfers
Even though DTF transfers are forgiving, certain pitfalls can ruin your results. Here are some common mistakes and how to avoid them.
- Insufficient pressure: If the pressure is too low, the transfer won't adhere properly, leading to peeling. Adjust your heat press to medium pressure and test on a scrap fabric.
- Wrong temperature: Too hot and the film may scorch or the adhesive may over-melt; too cold and the adhesive won't activate. Always follow the film manufacturer's recommendations.
- Not pre-pressing: Skipping pre-pressing can trap moisture, causing bubbles or poor adhesion.
- Peeling too soon or too late: Peeling while the transfer is still hot can stretch the design, while waiting too long can make the film difficult to remove. Follow the recommended peel method.
- Using the wrong fabric: While DTF works on many fabrics, some highly textured or coated fabrics may not yield good results. Test first.
DTF Transfers vs. Other Printing Methods: A Quick Comparison
To help you decide if DTF transfers are right for you, here's a comparison with other popular methods.
- DTF vs. Vinyl: Vinyl is limited to one color per layer and requires weeding. DTF allows full-color, complex designs with no weeding.
- DTF vs. Screen Printing: Screen printing is cost-effective for large orders but has setup costs and is limited to solid colors. DTF has no setup costs and can handle gradients and photos.
- DTF vs. DTG: DTG requires pretreated 100% cotton fabrics and can be slow. DTF works on more fabrics and produces more vibrant colors on dark garments.
- DTF vs. Sublimation: Sublimation only works on polyester or specially coated items and the design becomes part of the fabric. DTF sits on top and works on cotton too.
Tips for Long-Lasting DTF Prints
To ensure your DTF transfers stand the test of time, follow these care tips:
- Wait at least 24 hours before washing the garment.
- Turn the garment inside out before washing.
- Wash in cold water on a gentle cycle.
- Avoid using bleach or fabric softeners.
- Tumble dry on low heat or hang to dry.
- Do not iron directly on the print; if needed, iron inside out.
Frequently Asked Questions About DTF Transfers
How long do DTF transfers last?
With proper application and care, DTF transfers can last as long as the garment itself. They are highly durable and resistant to cracking, peeling, and fading. Following the washing instructions will maximize their lifespan.
Can I use DTF transfers on dark fabrics?
Absolutely! DTF transfers are excellent for dark fabrics because they include a white ink layer that makes colors pop. This is one of their key advantages over other methods like sublimation.
Do I need a special printer for DTF transfers?
Yes, you need a DTF printer that uses DTF inks and film. However, if you don't want to invest in a printer, you can order custom DTF transfers from a service like PatchesVault.com and apply them yourself with a heat press.
What is the best temperature for pressing DTF transfers?
The ideal temperature range is typically 300-325°F (150-160°C). However, always check the instructions provided with your specific DTF film and powder, as they may vary slightly.
Can I stretch DTF transfers?
Yes, DTF transfers are flexible and will stretch with the fabric without cracking, making them suitable for athletic wear and stretchy materials.
Conclusion
DTF transfers are a game-changer for anyone looking to create custom apparel with vibrant, durable designs. Whether you're a hobbyist or a business owner, understanding the process and avoiding common mistakes will help you achieve professional results. With the right tools and techniques, you can unleash your creativity and produce stunning garments that impress. So why wait? Explore the possibilities of DTF transfers today and elevate your custom apparel game.