
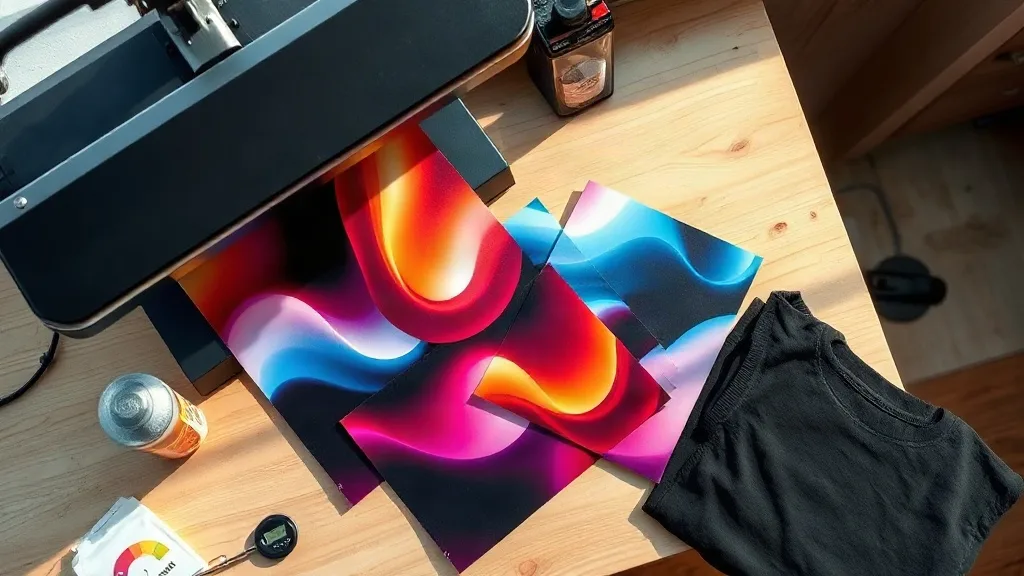
When a customer walks in with a phone screenshot of a twelve-color design and wants three shirts by Friday, your options narrow fast. Screen printing setup costs eat the margin on that order, and vinyl cutting turns into an hour of weeding for something that will peel after ten washes. This is exactly the gap where dtf transfers earned a permanent spot on my workbench. Direct-to-film printing lets you press a full-color, photograph-quality graphic onto cotton, polyester, or a blend without any pre-treatment chemistry and without burning a single screen.
I have run a small shop for six years, and the shift happened gradually. First it was a backup for one-off jobs. Then it became the default for anything under two dozen pieces. What follows is the practical knowledge I wish someone had handed me on day one, including the mistakes that cost me real money.
What a DTF Transfer Actually Is
A dtf transfer is a printed film sheet carrying a design in water-based pigment inks, coated with a thermoplastic adhesive powder. You print the artwork in reverse onto a PET film, dust the wet ink with powder, cure the powder until it gels, and then the sheet is ready to store or ship. When you press it, the powder melts into the fabric fibers while the film peels away clean.
The result sits on top of the fabric rather than soaking into it, which is why colors stay vivid on dark garments. A white underbase is printed automatically beneath the color layer, so you never need special white ink handling or a separate white plate. That single detail is what makes the process so forgiving for shops that do not want to think about garment color at all.
Film Types You Will Encounter
Most suppliers sell two grades of film: cold peel and hot peel. Cold peel film requires you to wait until the transfer cools completely before removing the carrier sheet. It gives a slightly softer hand and is more forgiving if your press temperature runs a little high. Hot peel film comes off immediately after pressing, which speeds up production considerably on multi-piece orders. I keep both on the shelf. Cold peel goes on premium retail jobs where feel matters, hot peel handles the bulk orders where throughput wins.
Setting Up Your Press Correctly
The most common reason people give up on DTF is a heat press that is not calibrated. The dial on your press is a suggestion, not a measurement. Buy an infrared thermometer and check the actual platen temperature before you blame the film for a failed press.
Here are the starting settings I use, which you should treat as a baseline rather than gospel:
- Temperature: 300 to 320 degrees Fahrenheit for most cotton and poly blends
- Pressure: medium to firm, enough that you can see the fabric texture through the carrier sheet
- Press time: 12 to 15 seconds for the transfer, plus a 5 second re-press after peeling
- Peel: cold or hot depending on film grade, always at a shallow angle
That final re-press matters more than most tutorials admit. Covering the peeled design with parchment or a Teflon sheet and pressing again for five seconds locks the adhesive fully into the weave. Skip it and you will see edge lift after the first wash cycle.
Fabric Matters More Than You Think
Cotton takes DTF beautifully. Polyester is trickier because the ink can migrate into the fiber over time, especially on lighter colors. If you are pressing onto 100 percent poly, lower the temperature by about 10 degrees and shorten the dwell time slightly. Nylon and treated water-resistant fabrics are the hardest cases; the adhesive needs a dry, clean surface to bond, so any factory finish will fight you. A quick wipe with a lint-free cloth and a light pre-press to drive off moisture solves most of it.
Sourcing Transfers Without Getting Burned
Not every shop wants to buy a printer, powder station, and curing oven. Plenty of garment decorators order finished sheets from a production house and simply press them in-house. If that is your model, the search for dtf transfers near me usually turns up a mix of local printers and national suppliers, and the difference between them shows up in consistency rather than price.
Ask three questions before you commit to a supplier. First, what ink system do they use, and is it OEKO-TEX certified? Second, how do they cure the powder, because undercured adhesive feels fine on day one and fails on day thirty. Third, what is their turnaround on reprints when a sheet arrives with banding or a clogged nozzle streak? A supplier who hesitates on that last question is telling you something.
Testing a New Supplier
Order a small batch with a design that includes fine text, a gradient, and a solid dark block. Those three elements expose most production weaknesses. Fine text shows registration problems, gradients reveal banding, and solid blocks expose uneven powder application. Press the samples onto the fabric you use most, then wash one inside out in warm water and tumble dry it on medium. Compare the washed piece against the unwashed one before you place a real order.
Storage and Handling
Finished transfers are not indestructible. Store them flat, away from heat and direct sunlight, in a dry space. Humidity is the quiet killer; powder that absorbs moisture from the air will not melt evenly and you get patchy adhesion. If your shop runs humid in summer, keep sheets in a sealed bin with a silica packet.
Do not stack heavy objects on top of the sheets. The powder layer is fragile before pressing, and crushed powder means a visible defect in the finished garment. I learned that one after leaving a box of transfers under a case of blanks overnight.
Where DTF Fits in Your Production Mix
DTF is not a replacement for screen printing on large runs. Above roughly fifty pieces, screens win on cost per unit and give a softer hand that many customers prefer. What DTF does extremely well is everything below that threshold: samples, team orders with variable names, photo-realistic artwork, and jobs where the customer changes the design three times before approving it. No setup fee means no awkward conversation about change orders.
It also pairs well with embroidery. A left-chest logo in thread plus a full-color back print in DTF is a combination that looks expensive and costs far less than you would expect. Customers notice the mix of textures, and it gives your work a finished, deliberate feel that a single decoration method rarely achieves.
Frequently Asked Questions
How many washes will a DTF transfer survive?
With correct pressing and proper care, most quality transfers hold up for fifty or more wash cycles. Wash inside out in cold or warm water, avoid fabric softener, and tumble dry low or hang dry. The adhesive degrades faster with high heat than with detergent.
Can I press DTF onto 100 percent polyester athletic wear?
Yes, but use a lower temperature around 290 to 300 degrees Fahrenheit and a shorter dwell time. Polyester is sensitive to heat and can scorch or develop a sheen. Always test on a scrap piece of the same fabric before running a full order.
Do I need a special printer to make my own transfers?
You need a printer with a white ink channel, which standard desktop inkjets do not have. Purpose-built DTF printers start around the price of a used car, and you will also need a powder shaker and a curing oven. For most small shops, ordering finished sheets from a production partner makes more financial sense until volume justifies the equipment.
Why is my transfer peeling at the edges after washing?
Edge lift almost always traces back to insufficient pressure, a cold spot on the platen, or a skipped post-peel re-press. Check your press calibration with an infrared thermometer, increase pressure slightly, and always finish with a five-second covered press.
Can DTF transfers be applied to dark and light garments equally well?
Yes, and that is one of the method's biggest advantages. The printer lays down a white underbase automatically, so the same file works on a black hoodie and a white tee without any file changes. You only adjust press settings for the fabric type, not the color.